There’s a song that I remember my momma playing when I was a little girl that declared, “There ain’t no cure for the Summertime Blues.” (Eddie Cochran – Summertime Blues – 1959) Over the years, there have been several covers of the song. While I prefer Cochrans’s version for the nostalgia, my favorite cover is Alan Jackson’s 1994 version of “Summertime Blues.” This summer anthem has also been used in commercials. The seeming timelessness of this song leads me to believe that a lot of people can relate to its lyrics. Perhaps summertime blues is real, and some people do believe that there’s no cure for it.
Perhaps that’s true for some people, but not for us, dear reader. I’m assuming that you’re here because like me, you love Christmas. And, when you love Christmas like we do, there’s always a cure for the blues when you keep Christmas in your hearts 365 days a year!
I know what you’re thinking, and no, I am not talking about the Hallmark Channel’s 2023 Christmas in July event. Although, my personal opinion is that July is the perfect time to watch Christmas movies. And, of course, you already know that I think any time is the perfect time to read Christmas romance novels. But, I’m not talking about that either!
Summertime Christmas Craft
For many people, candles simultaneously symbolize both Christmas and romance, and for good reason! Prior to electricity, candles illuminated evergreen trees during the Christmas season. Source (and read more): Stories Behind the Great Traditions of Christmas by Ace Collins. Many people, myself included, love to include candle-shaped ornaments on their trees, even to this day. (Examples at the bottom of this page!)

Knowing this, I decided to try this summertime Christmas craft. I’ll admit that I struggled with it a bit, but I’m actually glad that I did. Keith’s analytical mind rather enjoyed troubleshooting the issues with me. Working on it with my fiancé made it even more romantic!
I’m hoping that if you follow these steps, you can avoid some of my initial frustration!
Step 1: Prepare Your Water Gel Beads!
What I used:
It takes about four hours to fully hydrate these beads, so allow yourself plenty of time! You don’t want to wait until an hour before your romantic evening to start this project, and this is the main reason.
I prepared way too many, but you’ll want to err on that side. It’s much better to have too many than to few. The directions call for a gallon of water for an ounce of beads. I used half an ounce and half a gallon. You’ll want a bowl or container that’s a bit oversized because the beads will expand as they take on water.
Step 2: Layer Your Ornaments and Beads
What I used:
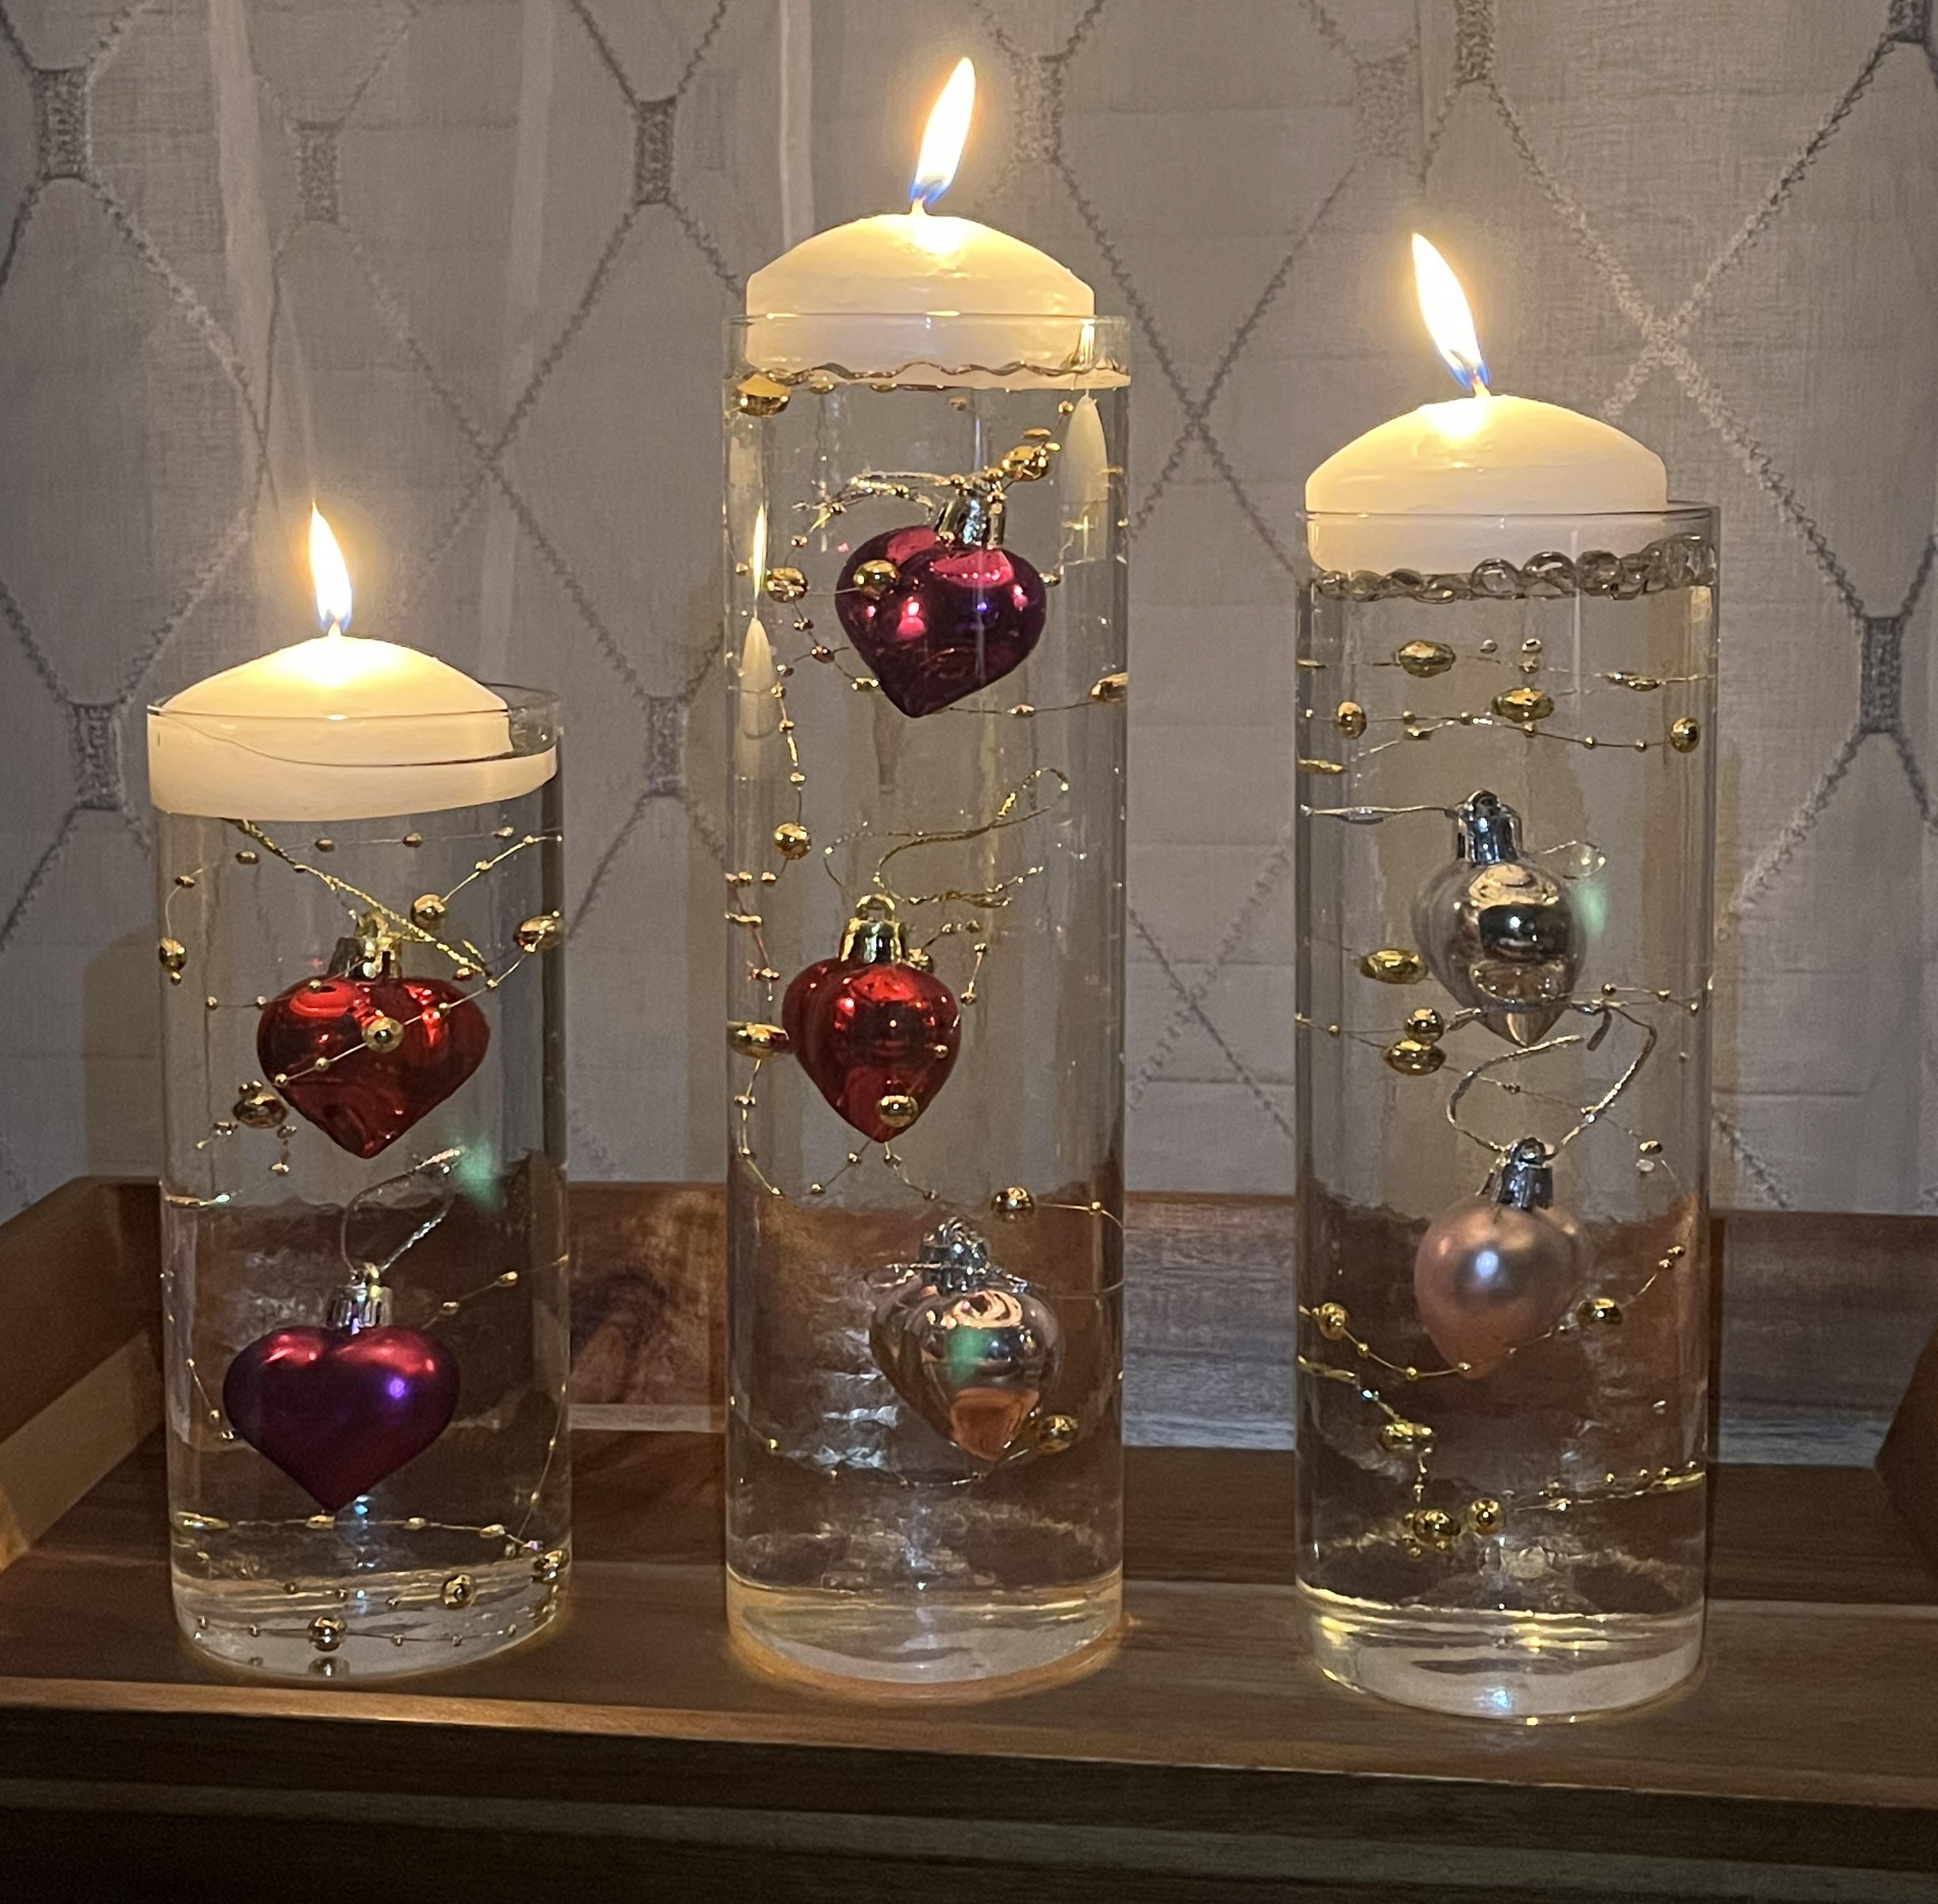
The floating candle kit that I purchased includes three different sized cylinders with six gold pearl strings. I only used three of these in the images above.
I lowered the pearls so that they were touching the bottom of the glass and began filling the cylinder with water beads. I alternated (kind of like making a casserole) between lowering the gold pearls where I wanted them and then pouring handfuls of water beads to hold them in place.
I had pre-selected a few of the heart-shaped Christmas ornaments that I use on both my Christmas tree and Valentines tree. You can use any of your favorite Christmas ornaments, if they’re waterproof (or if you have extras and don’t mind throwing them out after they’ve served your romantic purpose; there are 48 ornaments in my set, so I didn’t bother water-proofing them).
This is where I ran into issues and had to solicit Keith’s help.
We wanted the hearts to be submerged and to appear to float upright. It appeared to work until I poured the water over the water beads (which makes them translucent). When I poured the water over them, the hearts floated to the top after a few minutes.
We took the ornament caps off of them and filled them with water. If not for Keith, I would have been looking for tiny rocks or something, but his scientific mind realized that having water rather than air inside the ornaments would do the trick. He explained it in scientific terms, but all I cared about was that it worked.
So, if your ornaments are hollow, fill them with water and replace the ornament caps.
Step 3: Stage the Cylinders and Light the Candles
The serving tray that I used to stage my centerpiece was a gift, but the one picture to the left is similar. I think it gives the piece elegance, while protecting our much more expensive dining table from water spots. However, if an elegant, handmade serving board is what you’re in the mood for, I must recommend Derek Smiley’s Etsy page! He has nearly 150 sales through Etsy, and a 5 Star rating with rave customer reviews. I have several of his serving boards and cutting boards in my Etsy favorites. (Psst. If my family is reading this and shopping for me for Christmas – here’s your hint! 🙂 )
We spent some time playing around with how to fill the cylinders. Should the water beads come all the way up? Should we fill the last few inches with just water, so that the candles are actually floating instead of just appearing to float? We found that if we filled the cylinder up very much past the water beads, it affected the buoyancy, and our carefully placed heart ornaments and gold pearl strings would move.
Therefore, while these candles can presumably float without the beads, we decided to settle for the illusion of floating. In the picture above, you can see the beads around the candle in the third cylinder. We fixed this by removing a few beads at a time and carefully adding a little water. Carefully, so as not to disturb our hearts.
If you fill the cylinders too fast, you may notice air bubbles. Keith was able to dislodge the air bubbles with a wooden skewer. This was a slow process because too much movement caused the ornaments to move. He was able to use the skewer to sit the hearts upright again.
This project was much more time-consuming than I had initially anticipated, but it was so exciting. It’s something that we’re both so proud of.
